Create Quotations Using the Advanced Itinerary Pricing System
Build itemized quotations with ease and choose how pricing is displayed on the customer-facing page—whether it's a total price, product category totals, or a full breakdown.
How the Pricing System Works
TripCreator’s pricing system connects three parts of the itinerary:
-
Products added to the itinerary
-
The Pricing Table
-
The Itinerary Pricing tab
Video overview (for up-to-date navigation please see the written steps below)
👉 Products in the Itinerary
To create a detailed price breakdown or automate calculations, begin by entering price details in each product’s Pricing settings—including:
-
Cost
-
VAT
-
Markup
-
Selling price
When a product is added to a proposal, TripCreator will sync the presaved data with the pricing table and automatically calculate the total itinerary price.
💡 Tip: You can set up different pricing categories and room types in your inventory. For detailed guidance, see the articles below:
➕ Set up pricing categories
➕ Configure room types
Product pricing settings
👉 Products in the Pricing Table
The pricing table auto-populates based on the products added to the itinerary. Here, you can:
-
Finalize the quote
-
Adjust prices or markups
-
Add pricing categories (e.g., room types)
Itinerary pricing table
🔎 Product Sections
-
Products are grouped by category
-
Each section displays the total price for that category
-
You can rename, add, or delete sections using the dotted menu on the right
🔎 Managing Products in Each Section
-
Add custom price lines for services not listed in the itinerary
-
Delete price lines or products via the dotted menu
-
Add internal notes to each product. These notes remain hidden from customers unless you choose to display the detailed pricing breakdown
☝️ Note: To rename a product, do so directly in the itinerary planner. The updated name will sync automatically.
🔎 Setting Product Prices
To enter pricing:
-
Input the number of travelers and unit quantity
-
Select a unit type from the dropdown (e.g., per person, per unit)
-
For accommodations, click the dotted menu next to unit type and choose Add new room
-
Insert cost and price values
-
If needed, choose a different buying currency and set up exchange rates in the pricing table by clicking on the Currency Settings button
💡 Tips
-
Just want to add and show the total price? Simply enter the total selling price in the field at the bottom right of the pricing table.
-
VAT settings can be preconfigured under Settings → General Settings → VAT/Taxes, and will be available for use in the pricing table.
👉 Quotation Display Settings
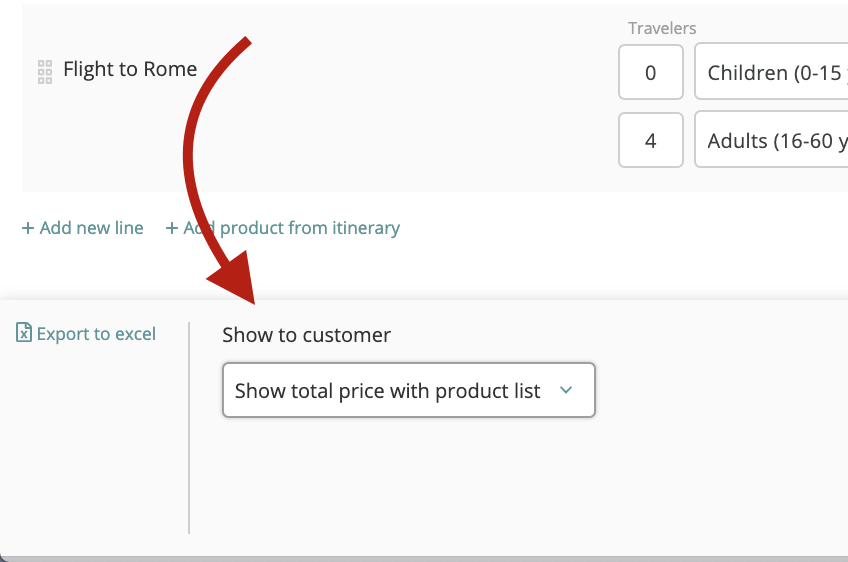
In the Pricing Table, under Show to customer, choose how the pricing should appear on the customer-facing itinerary. Options include:
-
Total selling price only
-
Total price + product list
-
Total price by product category
-
Full detailed price breakdown
Pricing Display Settings

👉 Itinerary Presentation: Pricing Tab
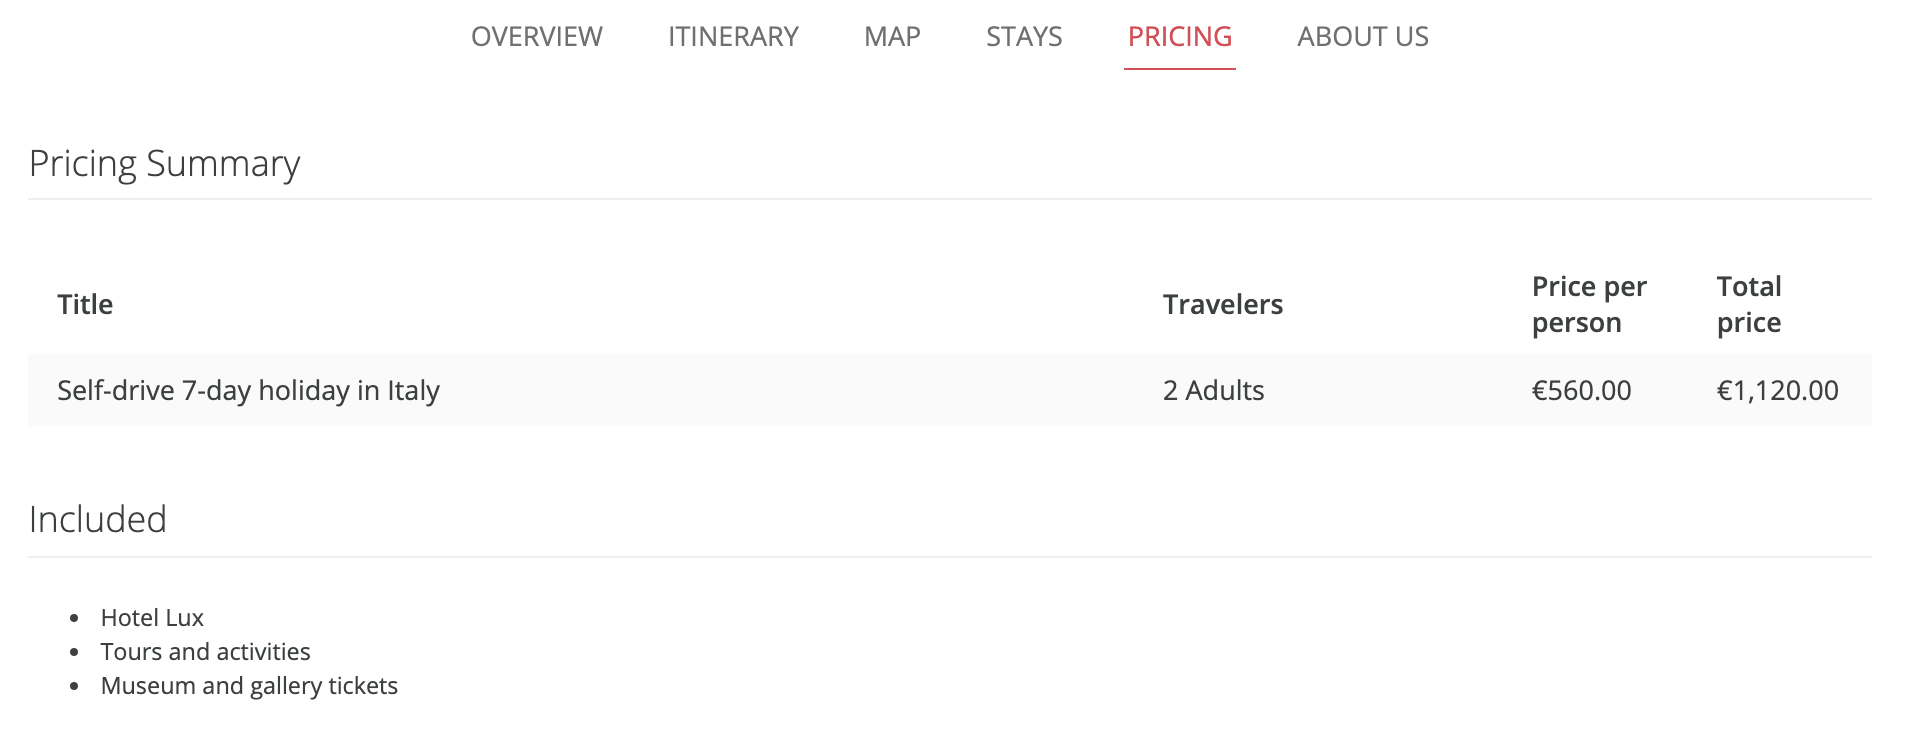
The final quotation is displayed on the Pricing tab of the customer-facing itinerary. It reflects the structure and content from the pricing table based on the settings you've configured.
Pricing information displayed in customer view

💡 Tip: You can add free text to the Pricing tab by opening the itinerary in the Preview window, enabling Edit mode, and using the available text boxes.