Create a Summarised Itinerary View Using Appearance Settings
Learn how to simplify your itinerary presentation using TripCreator’s itinerary appearance feature.

Overview
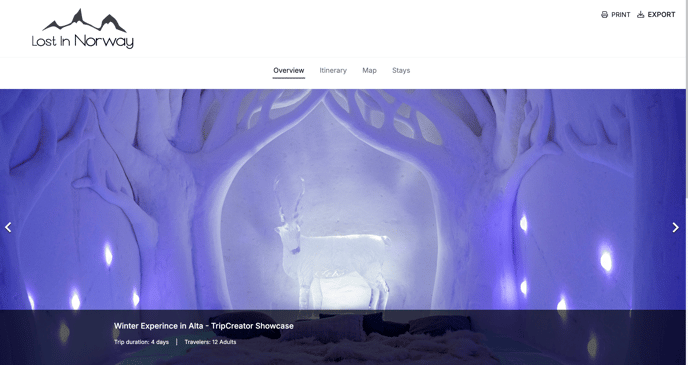
This article will guide you through setting up a simplified, summarised itinerary using the Itinerary Appearance settings. We'll use an example inspired by Lost in Norway. 📌 View the example itinerary here.
#1 What is an Itinerary Appearance?
In TripCreator, an itinerary appearance is a custom itinerary display that lets you:
-
Show or hide specific itinerary elements to control how much detail is shared.
-
Save and reuse these settings across multiple itineraries.
-
Instantly switch between appearances to adjust visibility for different audiences.
🔗 Learn more about itinerary appearances here.
⚠️ Important! Itinerary appearances are shared templates used by all team members, so any changes will affect all itineraries—including your colleagues’—that use that appearance.
#2 What You’ll Need to Create a Summarised Itinerary Appearance
To follow this guide, make sure you have:
-
An existing itinerary available in your dashboard.
-
Access to the Itinerary Appearance settings in your account (requires admin rights or the “Itinerary Appearance” permission).
#3 Locating and Creating a New Itinerary Appearance
-
Go to Settings in the left-hand menu.
-
Select General Settings.
-
Navigate to the Appearances tab at the top of the window.
-
Click the +Create new button.
Looking at the Lost in Norway example: the itinerary has fewer tabs, no pricing, and no contact information. We’ll aim to replicate this lightweight appearance by adjusting the following sections in your appearance settings: Title, General, Tabs, Buttons, Footer, and each product type (Attractions, Experiences, etc.).


#4 Step-by-Step: Configuring a Summarised Itinerary Appearance
-
Title: Give your appearance a clear name, e.g. Summarised Itinerary.
-
General: Disable all contact-related and pricing-related options.
-
Tabs: Turn off Pricing, Optionals, About Us, and Files.
-
Buttons: Turn off the "Have a Question?" button.
-
Footer: Disable Company Info and Social Info (these refer to your business address and social media links in the itinerary footer).
-
About Us and Pricing: No action needed here since those tabs are already hidden.
-
Product Categories (Attractions, Experiences, etc.): For each product type, hide the Price element.
-
Make sure to scroll down and click Save when finished.
General settings

Product (Stays) settings

#5 Apply the Appearance to Your Itinerary
-
Open your Dashboard and select the itinerary you want to update.
-
Click the Settings tab (cogwheel icon).
-
Locate the Appearance dropdown and select your newly created summarised appearance.
-
Click Apply, then navigate to the itinerary Preview page to see the updated itinerary display.

Itinerary example with a default itinerary appearance

Itinerary example with a summarised itinerary appearance
