Detailed Guide to Creating an Itinerary from Scratch
Learn the basic steps for building a new itinerary in TripCreator.
☝️ The video below demonstrates how to add content to your itinerary.
Step 1: Set Up Itinerary Settings
From your dashboard, click Create Itinerary in the left sidebar. In the Create an Itinerary (Offer) window, configure your itinerary settings and click Create when you're done.
☝️ Note: You can update most settings later in the itinerary settings, except for the payment currency, which is fixed once selected.
📘 See this article to learn how to configure your workspace's payment currencies.


Step 2: Add Products to Your Itinerary
You can build itineraries using either Calendar View or List View.

In Calendar View:
-
Click on any time slot to access your content library.
-
Choose from All Products, My Products, or Modules.

-
Use filters or search to find a product, then click Add to Itinerary.


-
Drag and drop products in the calendar view to reschedule them.
-
Click the three-dot menu on a day to reveal actions like saving a day title.

In List View:
-
Your itinerary appears on the left and your product library on the right.
-
Drag products from the library into your itinerary.
-
Rearrange products within each day by dragging them.
-
Use the Create Item button to add a new product directly into your itinerary.
-
Explore TripCreator's global library using the All Products tab.

Step 3: Finalize the Itinerary with Images and Notes
Add Presentation Images:
-
Open your Itinerary Settings (cogwheel icon).
-
Select Presentation Images from the left menu.
-
Upload images from one or more sources.
-
Images will appear on the Itinerary Overview tab.

Add Itinerary Notes:
-
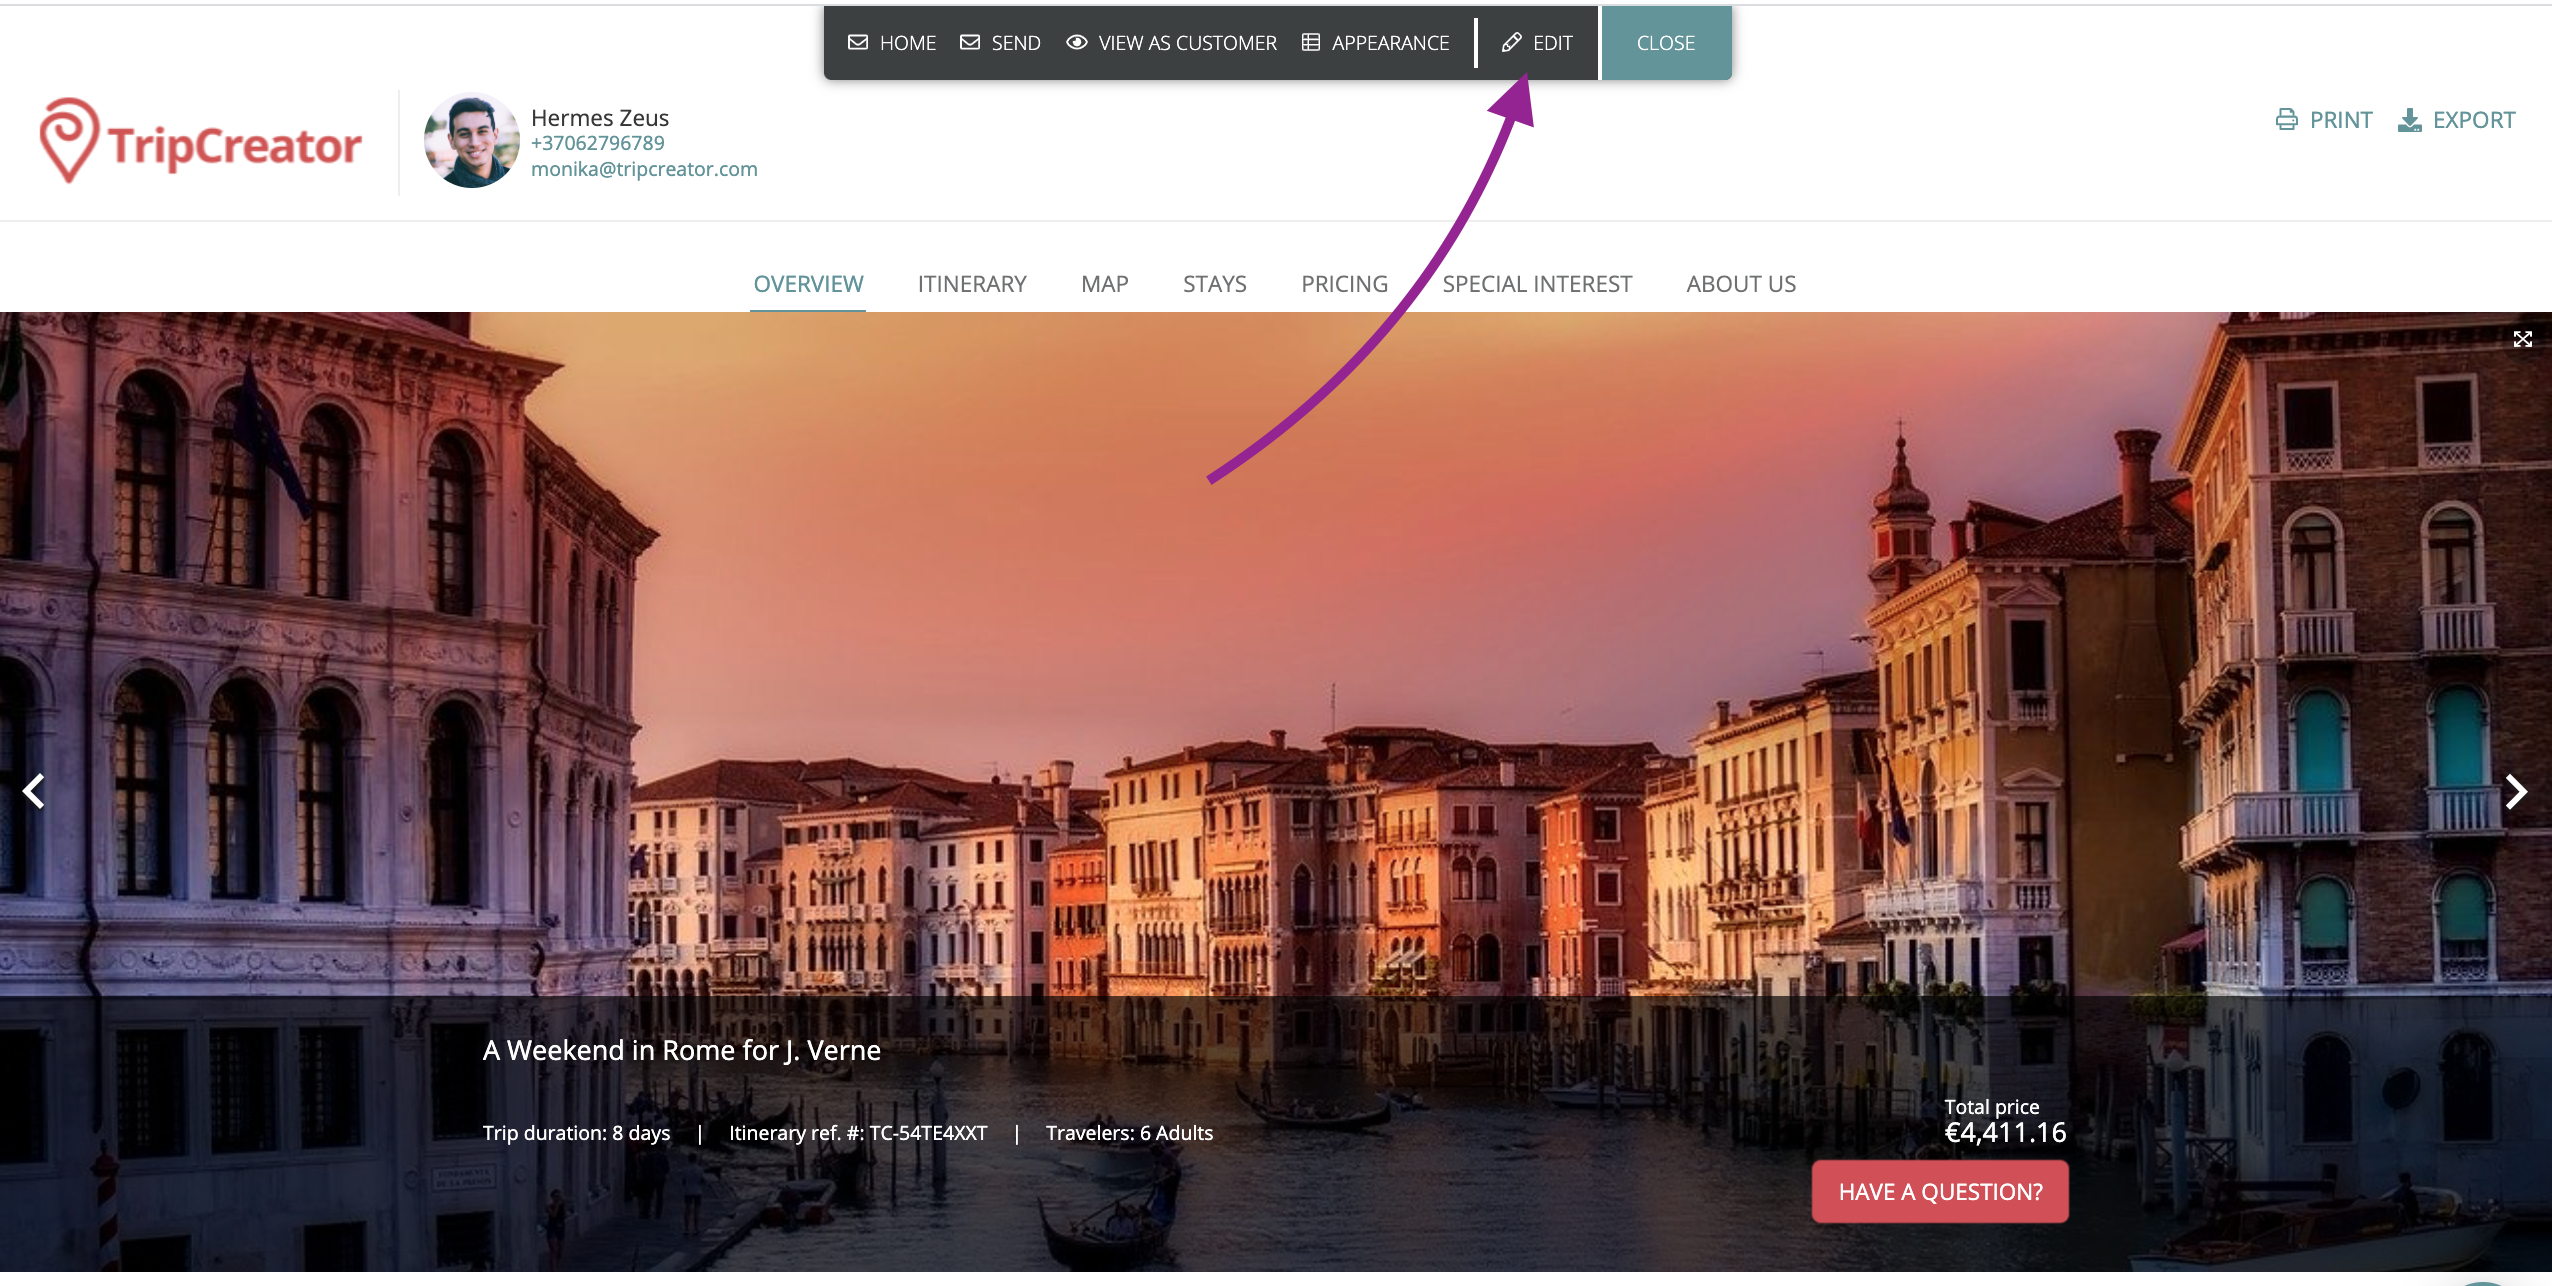
Click Preview in the itinerary (top right of the planner).
-
Enter Edit Mode from the top action bar.
-
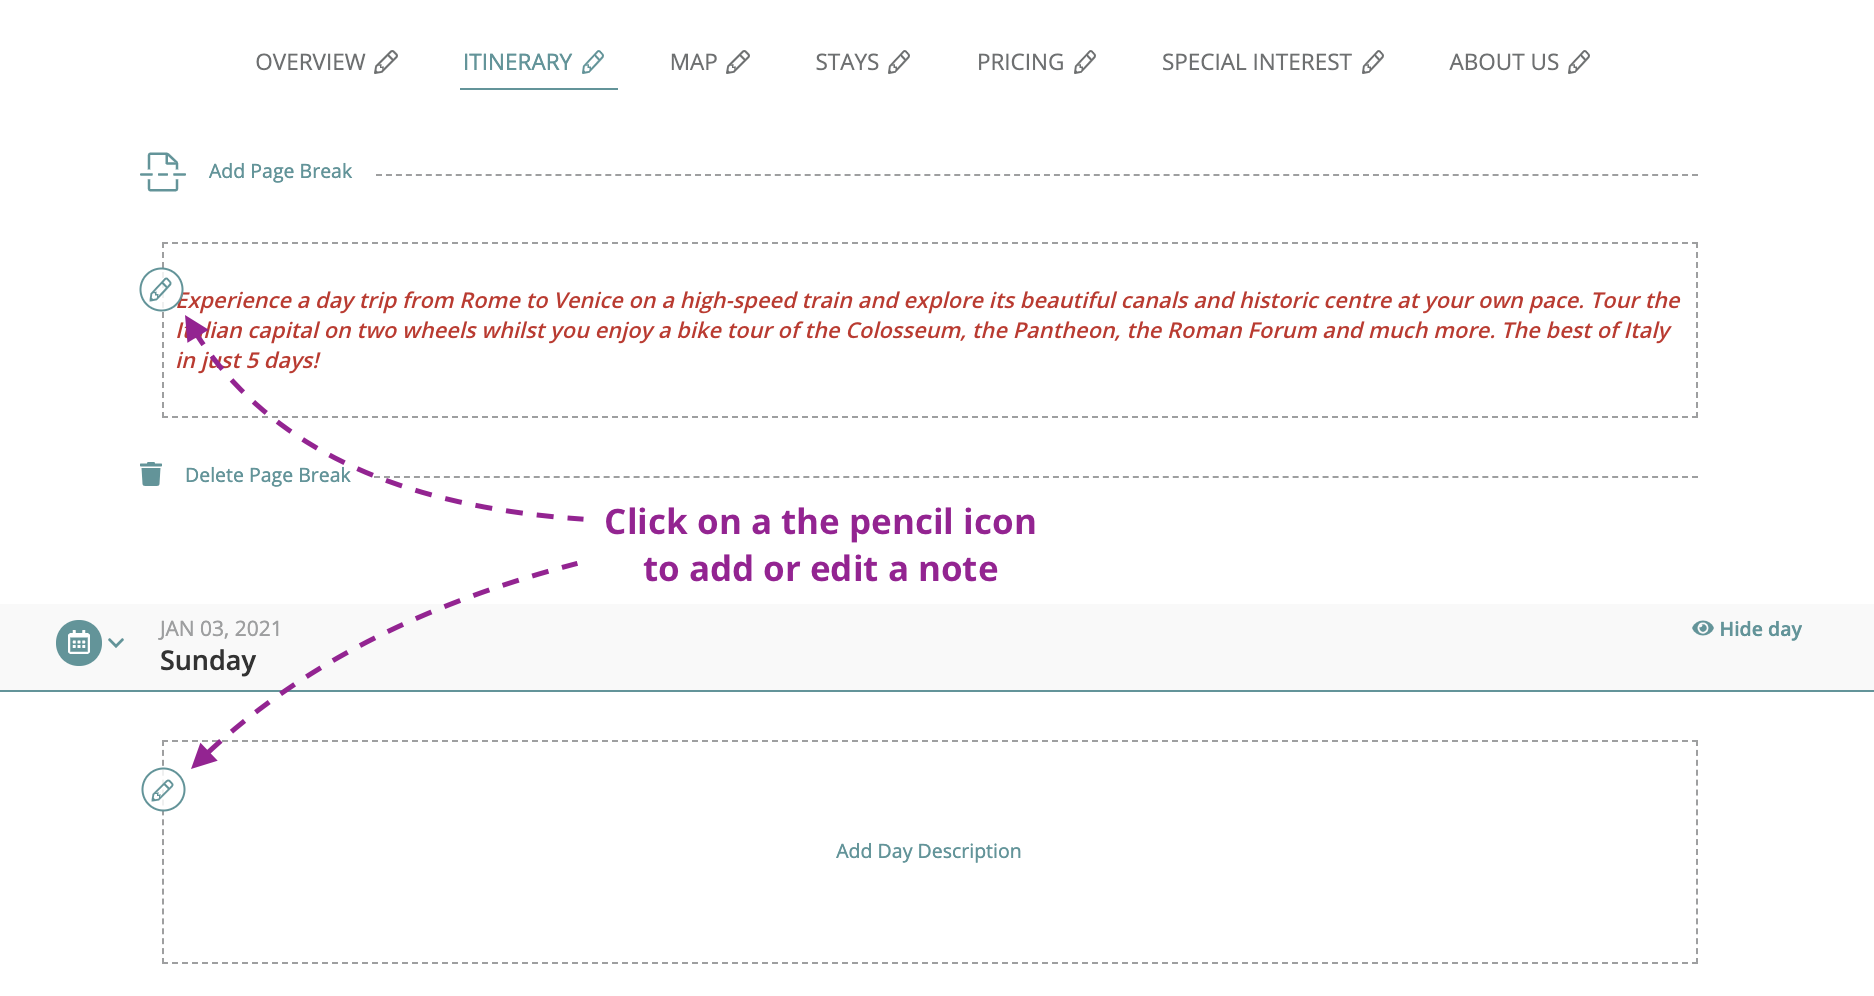
Use the tabs (Overview, Itinerary, Pricing, About Us) to add custom text.
-
Click the pencil icon to open a text editor and insert descriptions or notes.
-
Rename tabs as needed.
-
Attachments or files can be uploaded on the Itinerary, Pricing and the About Us tabs.


Ready to send your itinerary to a client?
Check these articles for sending options:

