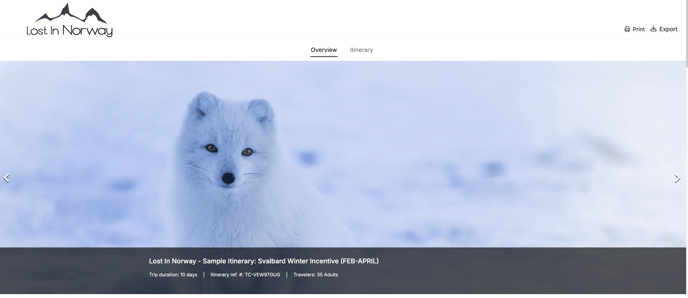
Configure Itinerary Presentation Images
Learn how to add images to the itinerary header and what size fits best.
Make your itineraries stand out by setting presentation images that are optimized for the display format.

1. Go to Presentation Images Settings
From the itinerary builder, click the Settings icon (⚙️) at the top.
In the left-hand menu, select Presentation Images.
2. Add or Change Images
Use one or more of the following image sources:
-
Pixabay – royalty-free image bank with high-quality destination and attraction visuals
-
Upload – upload images directly from your computer
-
By URL – paste an image link ending in
.jpg,.png, or.gif -
Website – extract available images from a website by entering the URL
-
From itinerary – reuse images already used in the itinerary
💡 TIP: Hold Shift to select multiple images at once.
3. Image Guidelines
For best results:
-
Header image aspect ratio: 16:10 or 16:9
-
Resolution: Standard web resolution is 72 PPI
-
File size: Keep images under 2 MB to reduce load times
-
Standard screen size: 1920 x 640 px
-
Large screens: 2560 x 640 px
☝️ Note: The system automatically adjusts the image size to fit different screens, so even smaller images still display correctly.
Here's an example of how images scale depending on screen size:
-4.png)