Operations system: Manage Trip Participants and Allocate Them to Resources
Learn how to load trip participants in the Operations module, allocate them to different resources, and share the information with suppliers.
☝️The video below showcases the capabilities of TripCreator’s Operation Module.
This article covers the following topics:
-
Saving trip participant details
-
Allocating participants to resources
-
Sending participant information to suppliers
👉 Saving Trip Participant Details
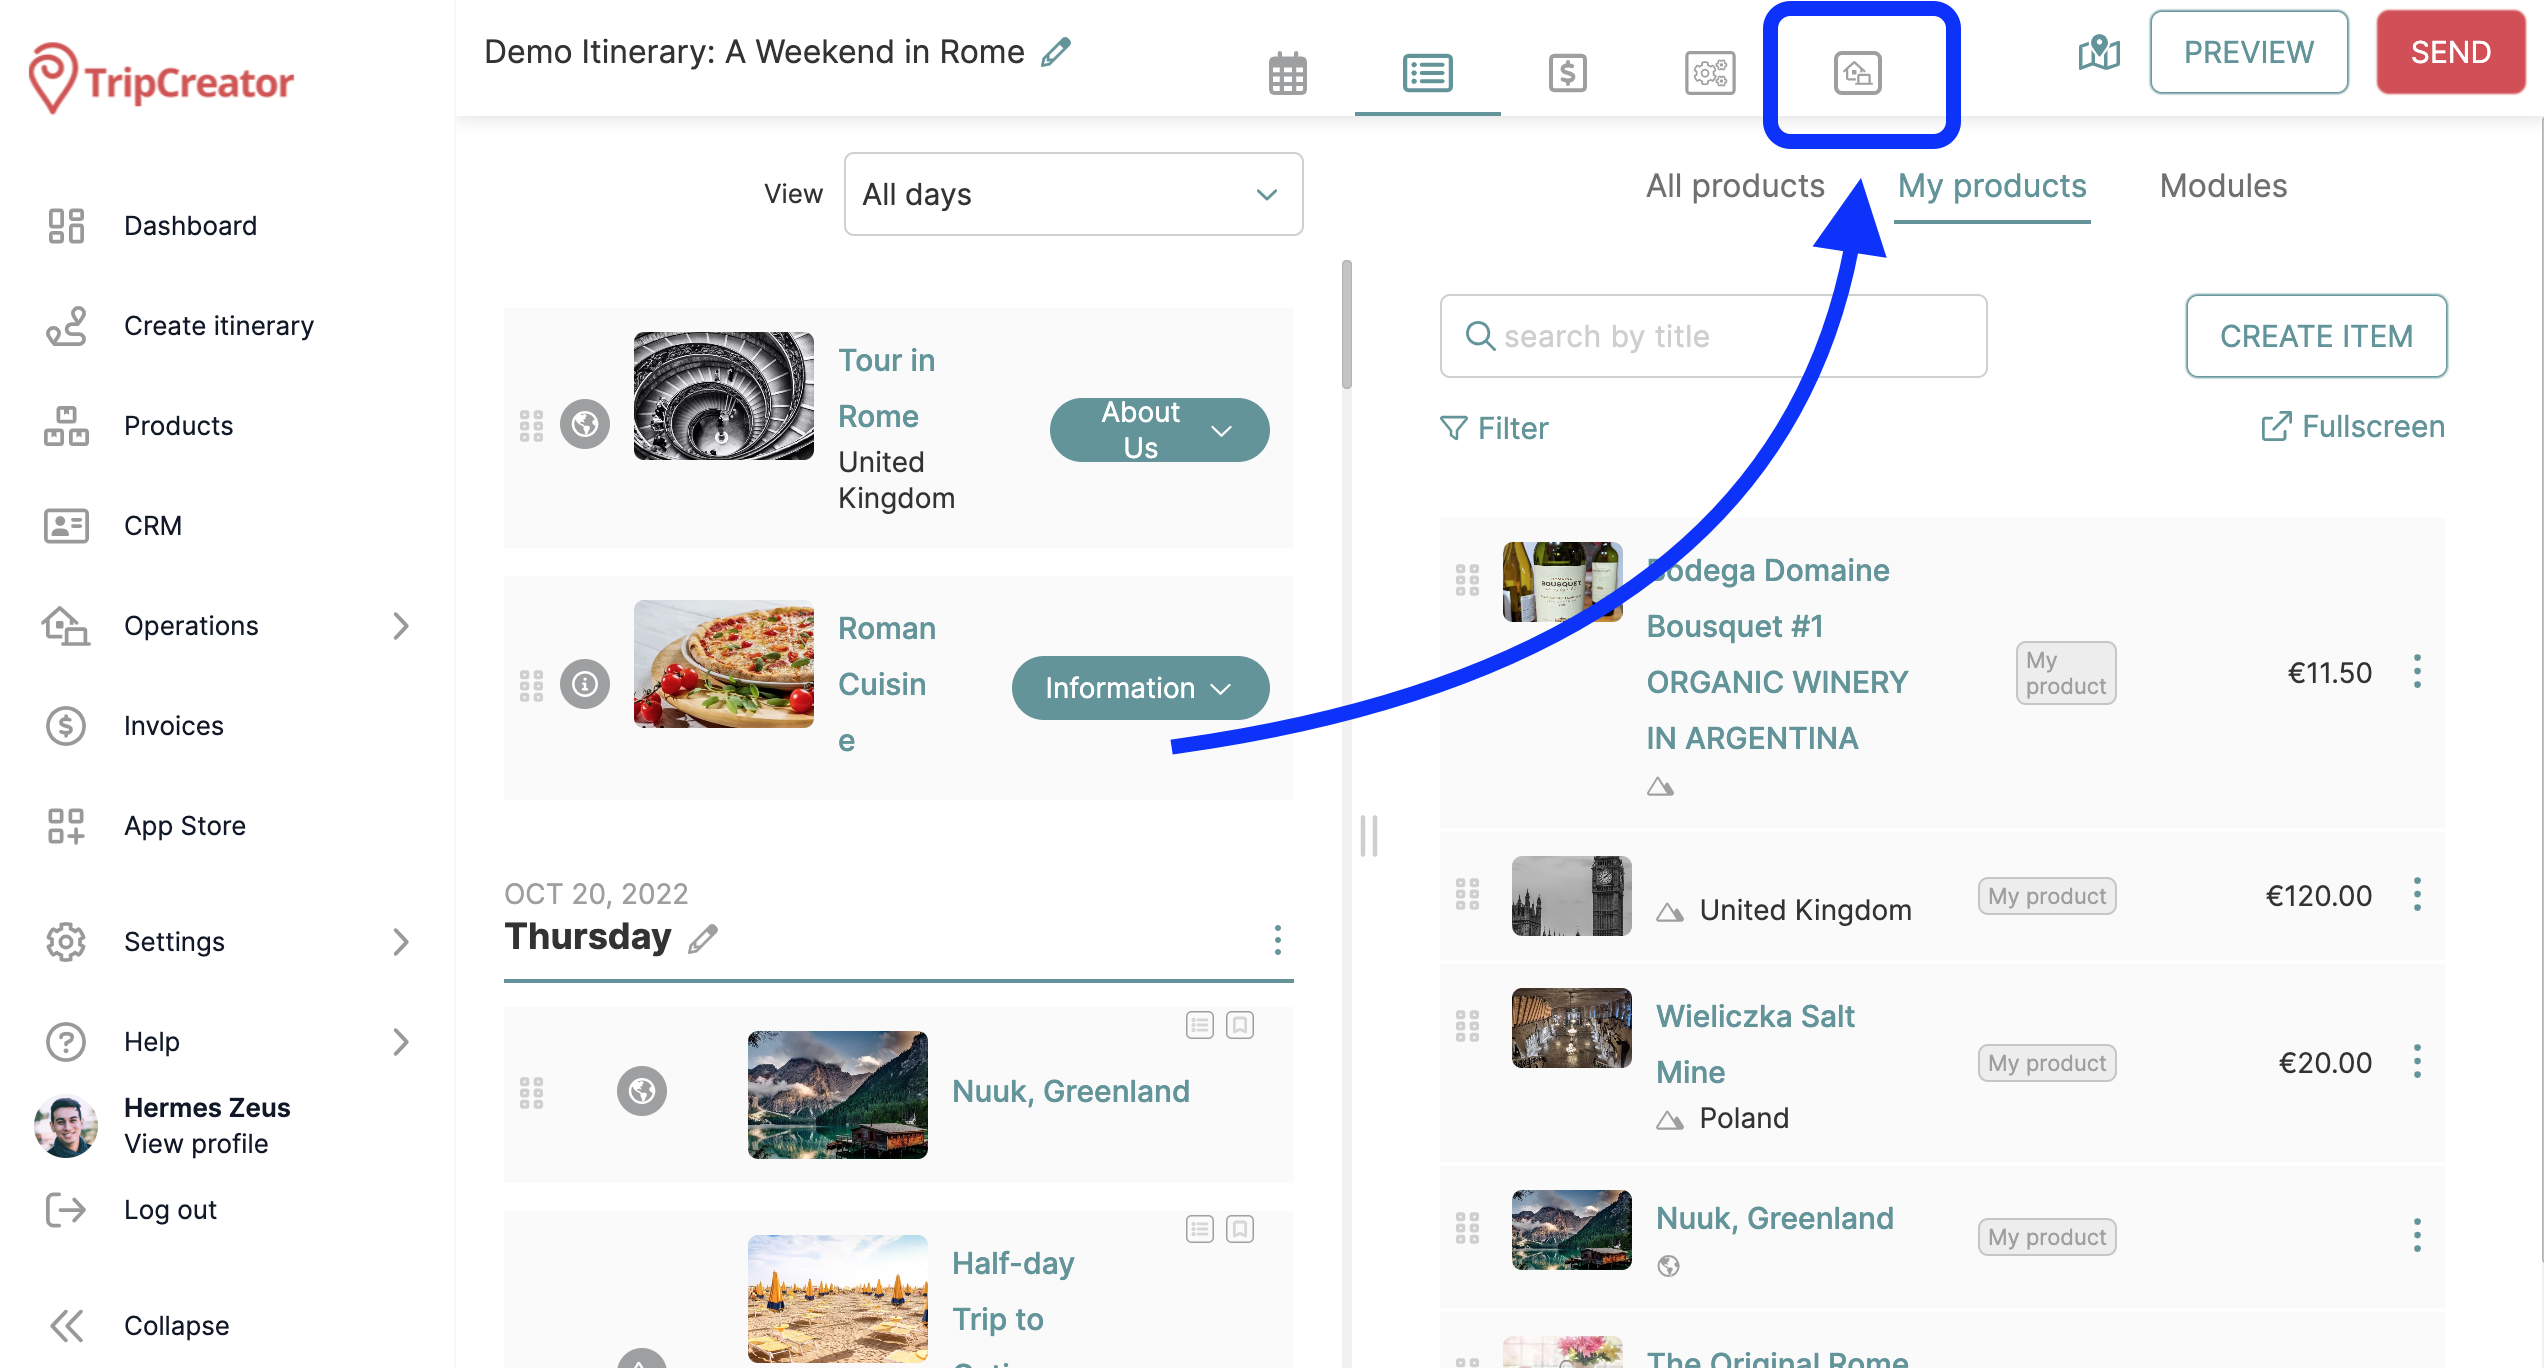
To begin, open the Operations module from the itinerary you are working on by clicking the Operations tab (house icon).

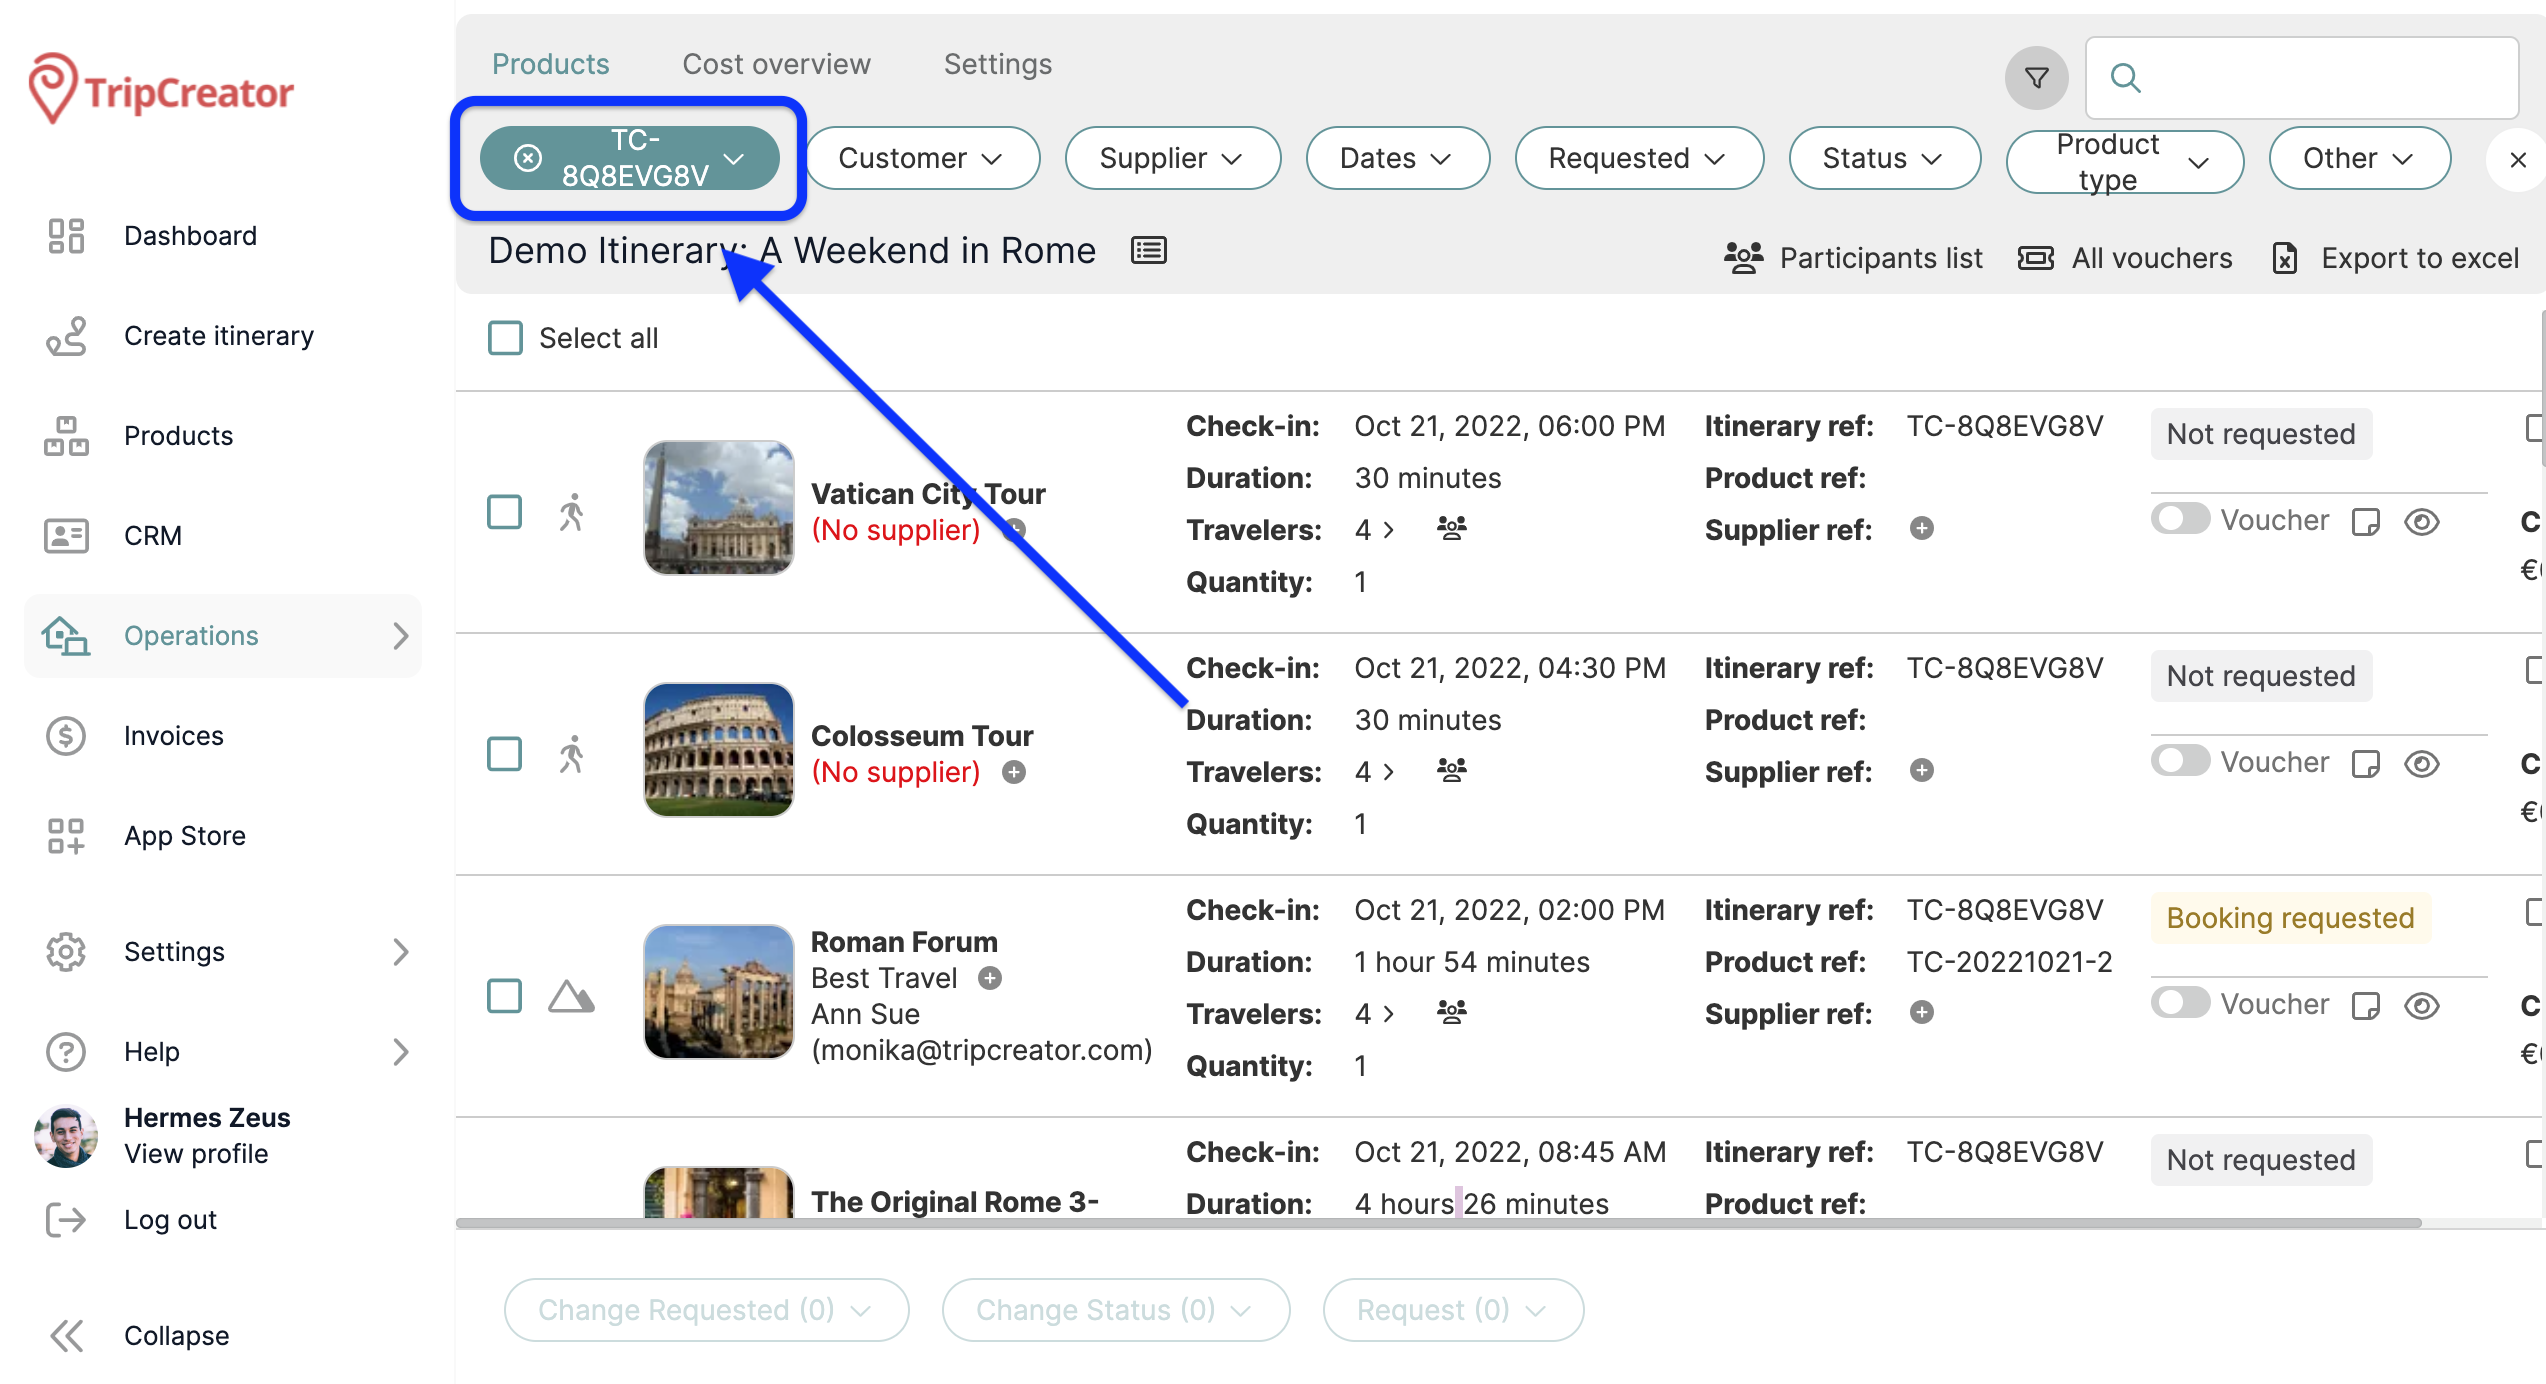
In the Operations view, you'll see a row of filters at the top. The Itinerary filter will be automatically applied—this is necessary to display all relevant services from your itinerary.

Find and click the Participants list button just below the filters to save or upload participant details for the selected itinerary.
You have three options for uploading participant information:
-
Add participants manually.
Click New participant to enter participant details directly into the Participants window.

2. Upload via TripCreator template.
Select Upload participant list, download the provided Excel template, fill in the details, and upload it back into the system.

3. Copy-paste from an external spreadsheet.
Also under Upload participant list, you can:
-
Drop a
.csv,.xlsx, or.xlsfile with participant data, or -
Click "click here to copy paste table data" and paste the copied information directly.
When pasting, use the Select Delimiter dropdown to indicate how your data is separated (e.g., comma, tab), ensuring it’s formatted correctly. You’ll be prompted to map the columns to match TripCreator’s fields.
👉 Allocating Participants to Resources
Each service displays the participant count and the resource* count in the Travelers line.
*A resource is any unit used to deliver a service, such as a room type at a hotel or a time slot for an activity.

📌 Single Resource – Automatic Allocation
If only one product resource is set up for a service, saved participants will be automatically allocated. You can still adjust the allocation manually per service.
📌 Multiple Resources – Manual Allocation
If a service includes multiple resources, or if you wish to add more, you’ll need to manually allocate participants. Here’s how:
1. Click the Participants & Resources button (next to the traveler count) on the service you want to manage.
2. Disable the Auto allocate participants toggle.
3. Click on the +Add new to add extra resources.

4. Drag and drop participants into the appropriate resources.

👉 Sending Participant Information to Suppliers
You can send the participant list and allocation details to suppliers via the TripCreator email system.
In the supplier request email, enable the Include participants and allocation toggle.

Your supplier will then be able to view and download the participant details directly from the request landing page.