Start by creating a new itinerary or opening an existing one, then follow the steps below.
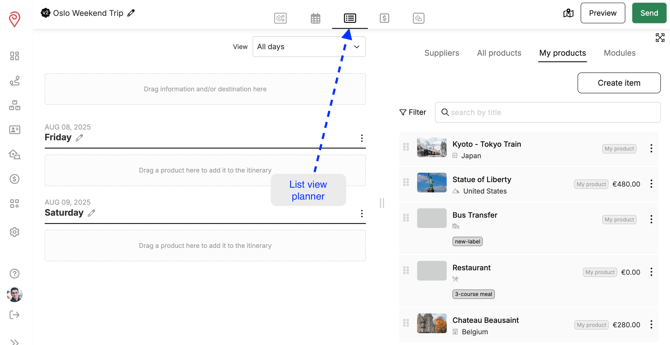
1. Switch to the List View planner
This is the third tab from the left at the top of the planner.
2. Select the All Products tab on the inventory side to search for information on global destinations, attractions, and hotels.
-
Tap Filter to refine your search.
-
Use the search field to find specific places.
-
Tap the expand symbol
 to open your content library in full view.
☝️ Note: Viewing your full library also allows you to use the destination search on the map.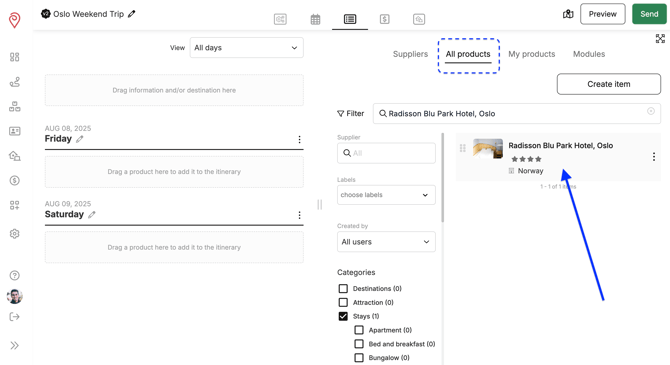
3. Find an item you’d like to use
Tap on the item found in the results section and choose Duplicate to Edit to add or adjust details. 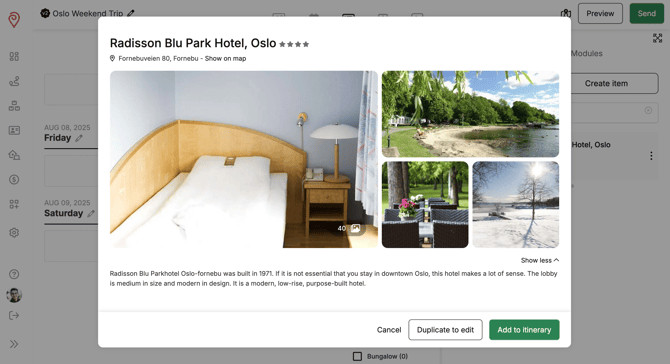
When finished, choose from the options in the lower-right corner of the product:
-
Save
-
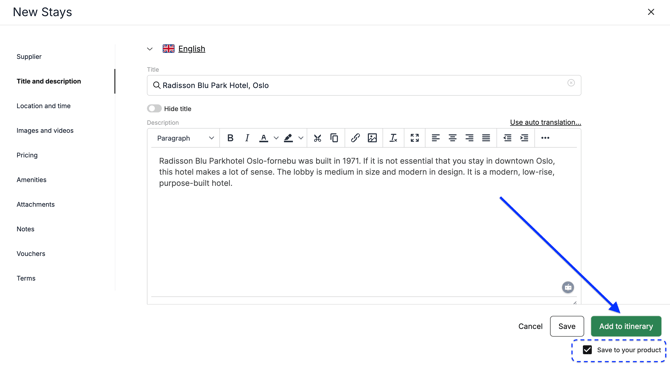
Add to itinerary
-
Cancel
-
Save to your products
☝️ Note: Keep this box checked when adding the product to the itinerary if you want to save it to your product database, making it reusable in future itineraries and available to all your team members. The item will then appear under My Products in your team’s content library.
☝️ The video below demonstrates how to add content to your itinerary.