The quickest way to create new products is directly in the itinerary builder. Start by creating a new itinerary or opening an existing one, then follow the steps below.
1. Switch to the List View planner
Find the List-view tab located at the top of the planner.
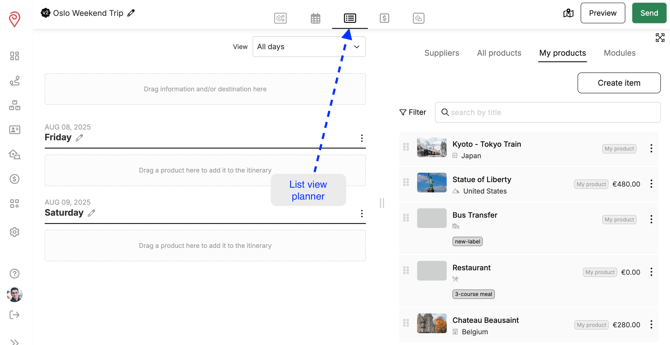
2. Create a new item
On the inventory side, click the Create Item button and choose a category for your product.
☝️ Note: You’ll be able to specify a subcategory later when saving the product details.

3. Add product details
Use the left-hand menu to enter any relevant information. When finished, choose from the options in the lower-right corner of the product:
-
Save
-
Add to itinerary
-
Cancel
-
Save to your products
☝️ Note: Keep this box checked when adding the product to the itinerary if you want to save it to your product database, making it reusable in future itineraries and available to all your team members.

☝️ The video below demonstrates how to add existing items to your itineraries.