Create Itinerary Appearance Templates to Control What Customers See
Easily manage what itinerary information is visible or hidden from your customers. With flexible appearance settings, nearly any element can be customized.
Video instructions (for up-do-date navigation, please refer to the steps written below)
Why Use Itinerary Appearance Templates?
Create reusable appearance templates to match different needs and client types. This feature is especially helpful when:
-
You want to display your client's branding instead of your own
-
You need to share both proposals and confirmed itineraries
-
You want to hide specific details such as product prices, stay check-out times, or entire tabs from the itinerary view
⚠️ Important! Itinerary appearances are shared templates used by all team members, so any changes will affect all itineraries—including your colleagues’—that use that appearance.
👉 How to Create a New Itinerary Appearance
-
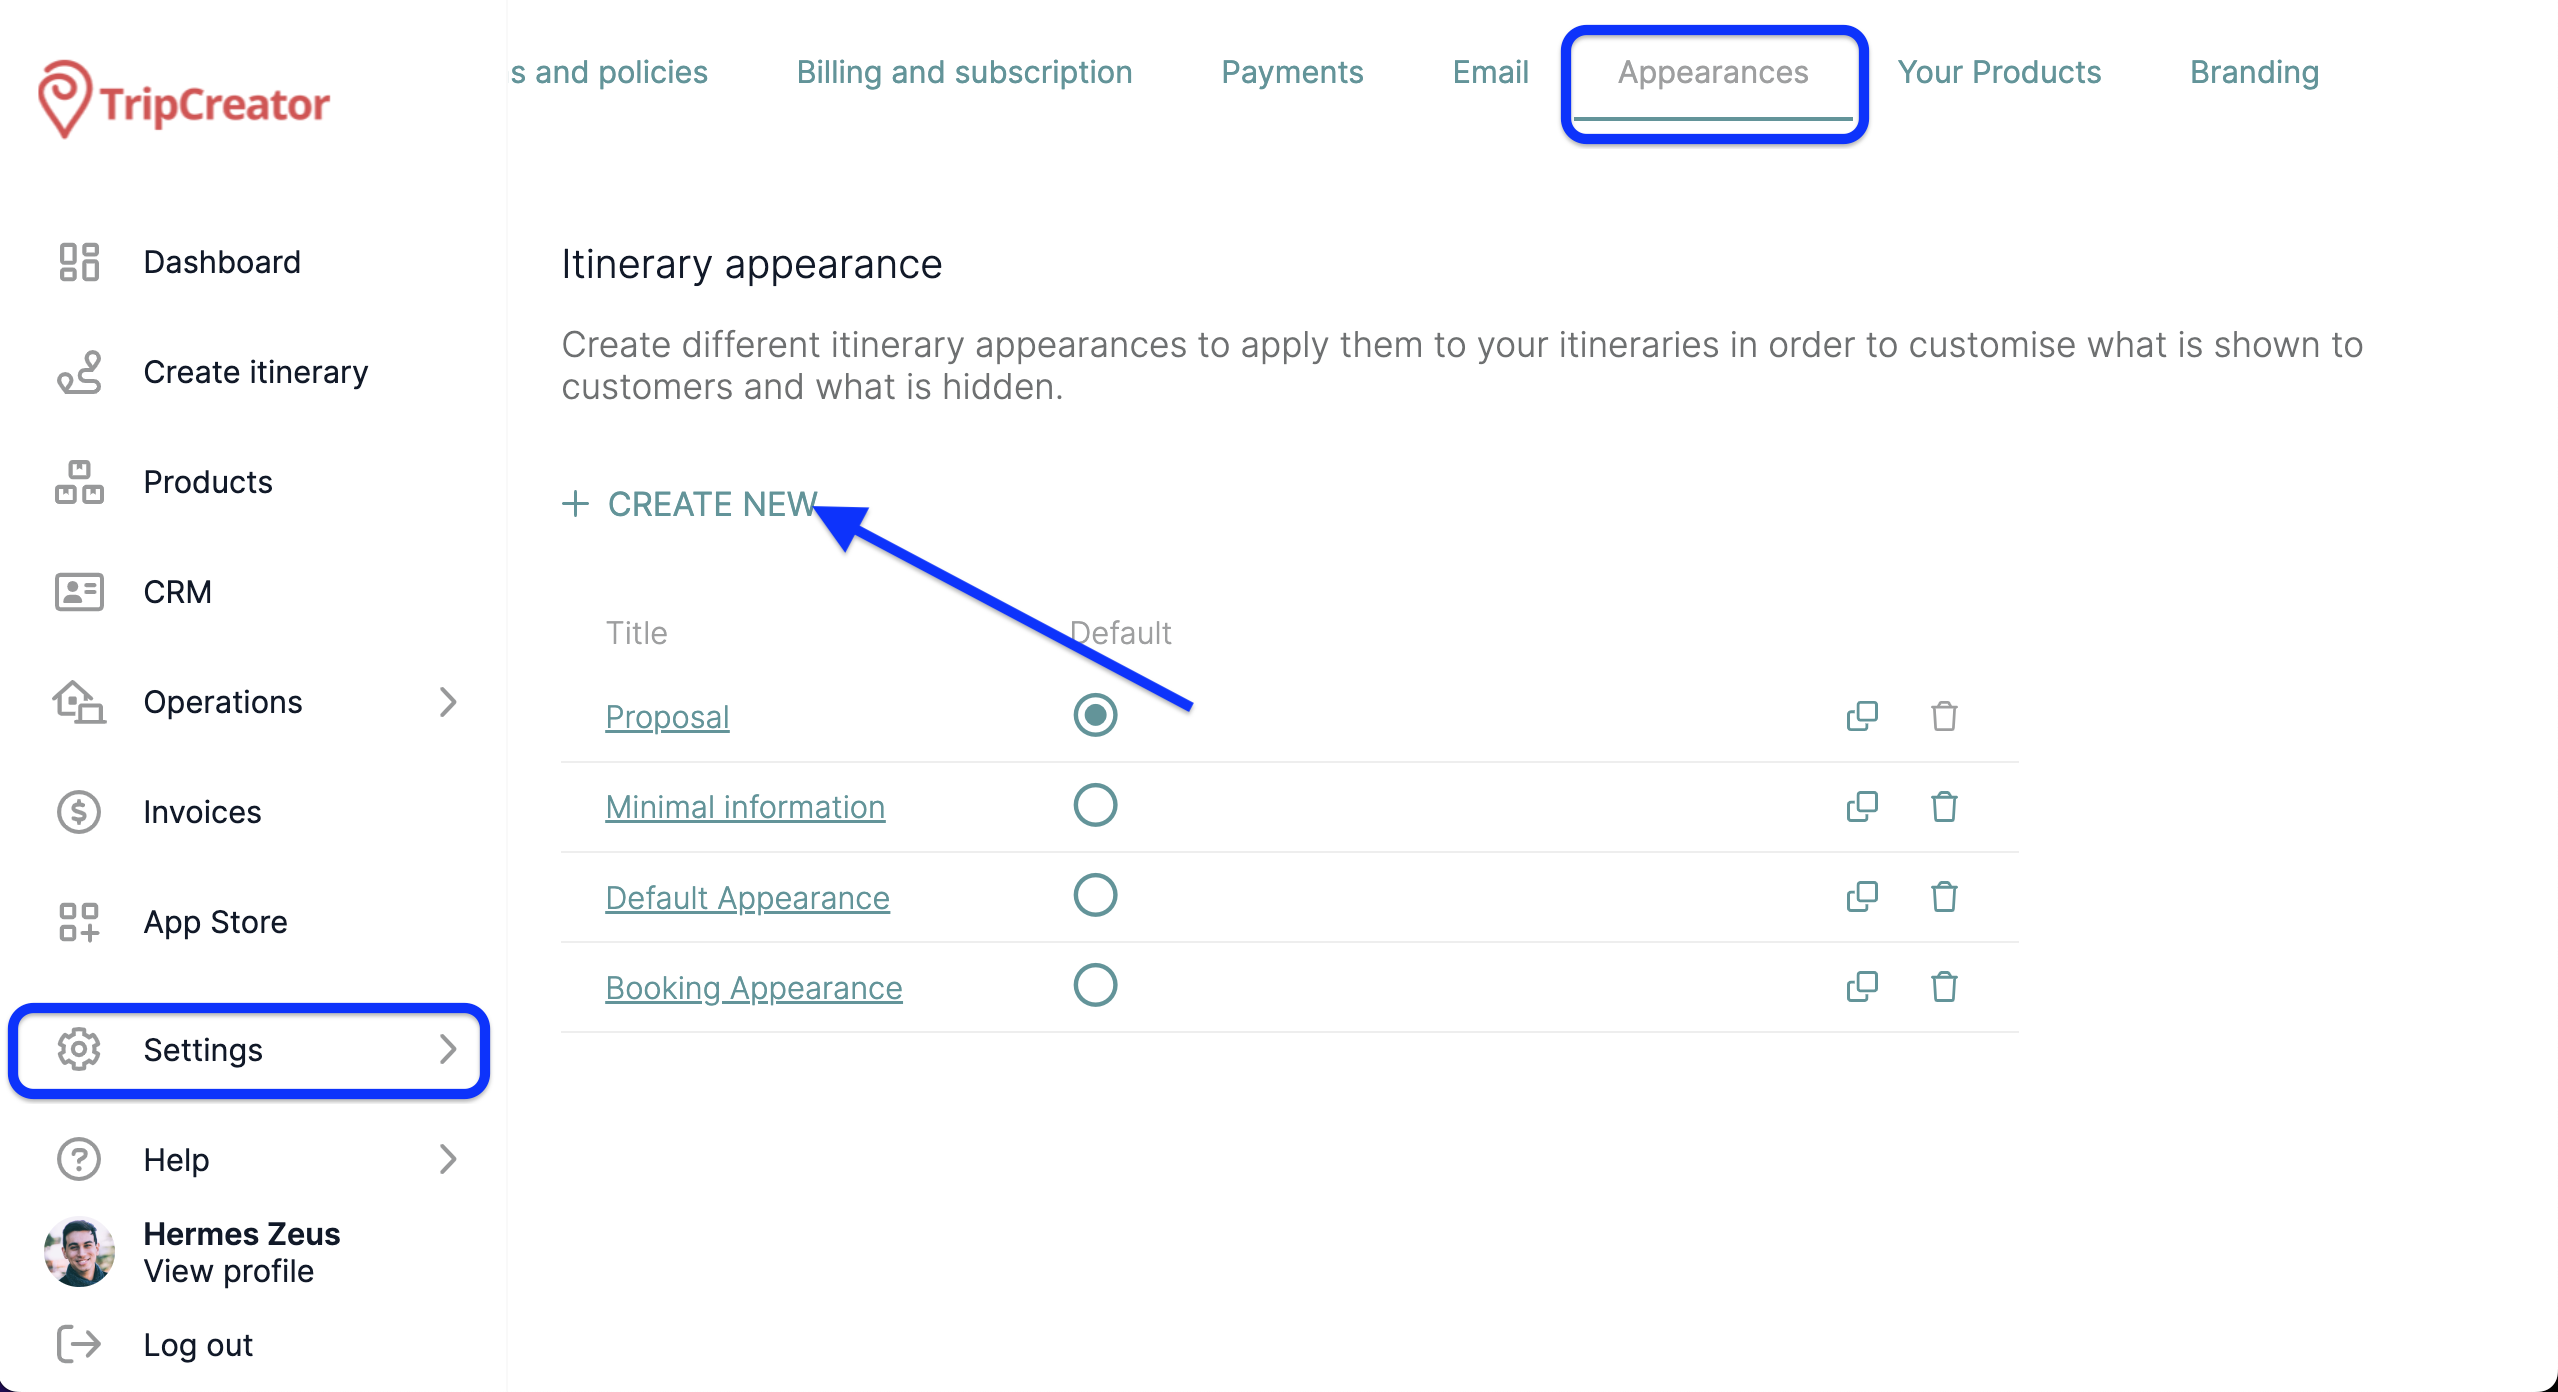
Go to:
Settings→General Settings→Appearances -
Click + Create New
-
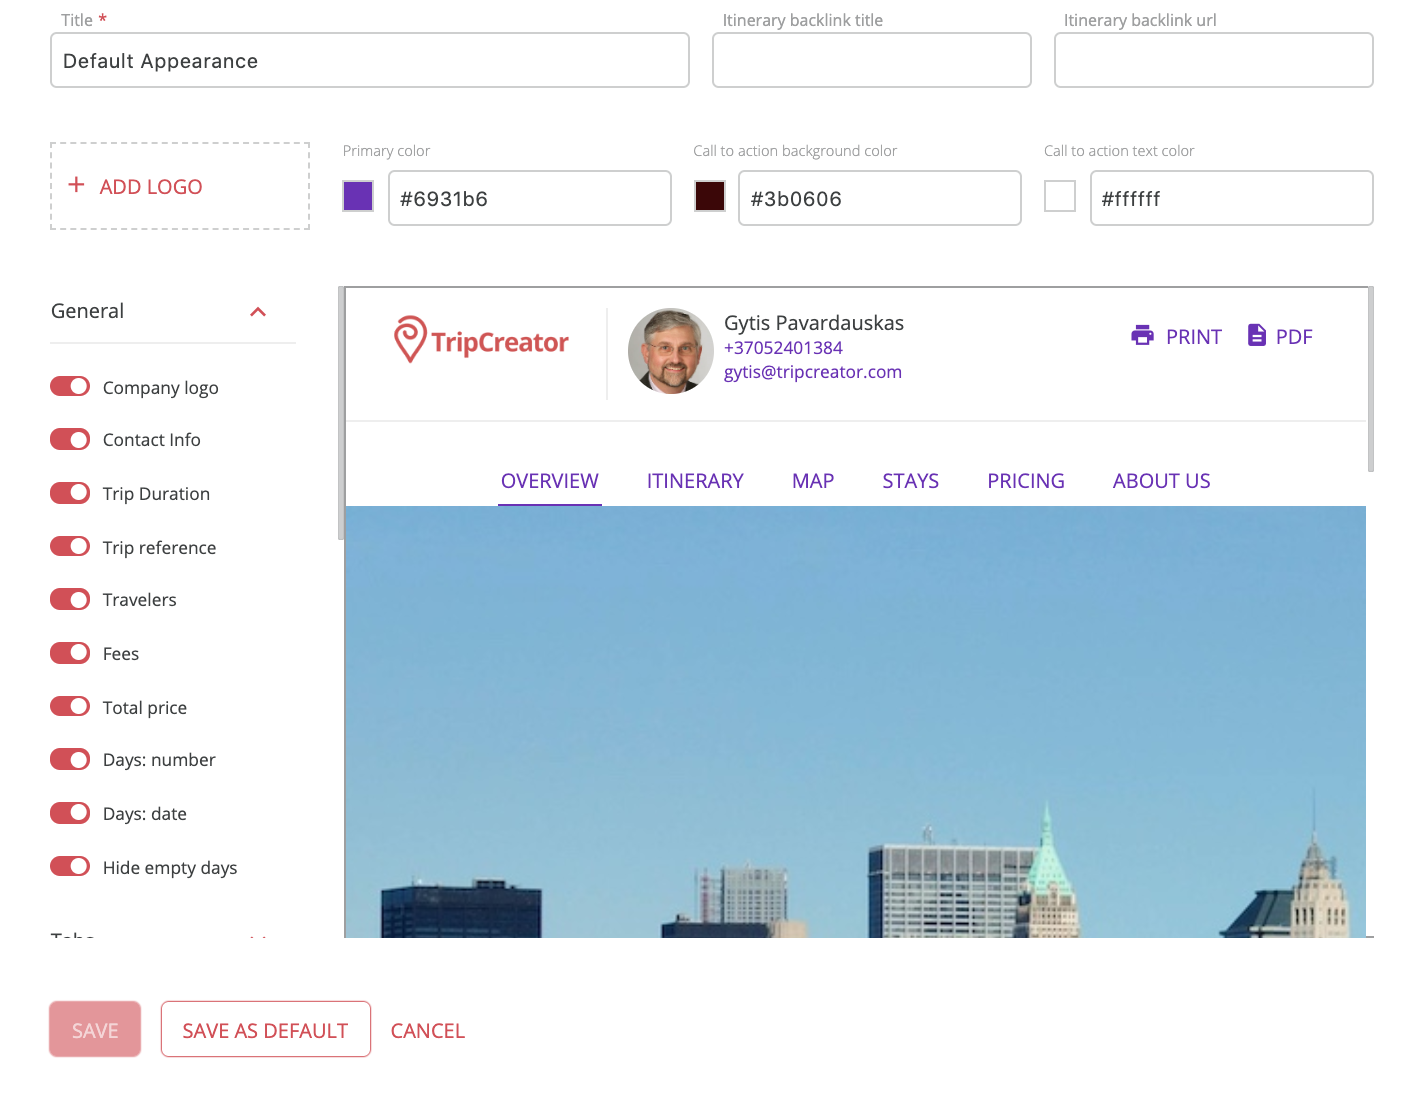
Explore the available categories in the left-hand menu (e.g., General, Tabs, Transportation)
-
Use the toggle switch next to each element to choose what should be shown (on) or hidden (off) in itineraries using this appearance
-
Don’t forget to Save your changes

💡 Tip: To prepare an appearance on behalf of a client, go to the General tab and:
-
Hide your company details
-
Upload the client’s logo and apply their brand colors at the top of the settings panel

👉 How to Edit an Existing Appearance
-
Navigate to the Appearances page
-
Select the appearance you want to update
-
Use the toggles to adjust visibility settings as needed
-
Save your changes
👉 How to Apply an Appearance to an Itinerary
By default, new itineraries use your designated default appearance.
To assign a different one:
-
Open the itinerary
-
Go to the General Settings tab (⚙️)
-
Find the Appearance section
-
Choose the desired template from the dropdown list
☝️ Note: You can change your default appearance from the main Appearances page at any time.
